
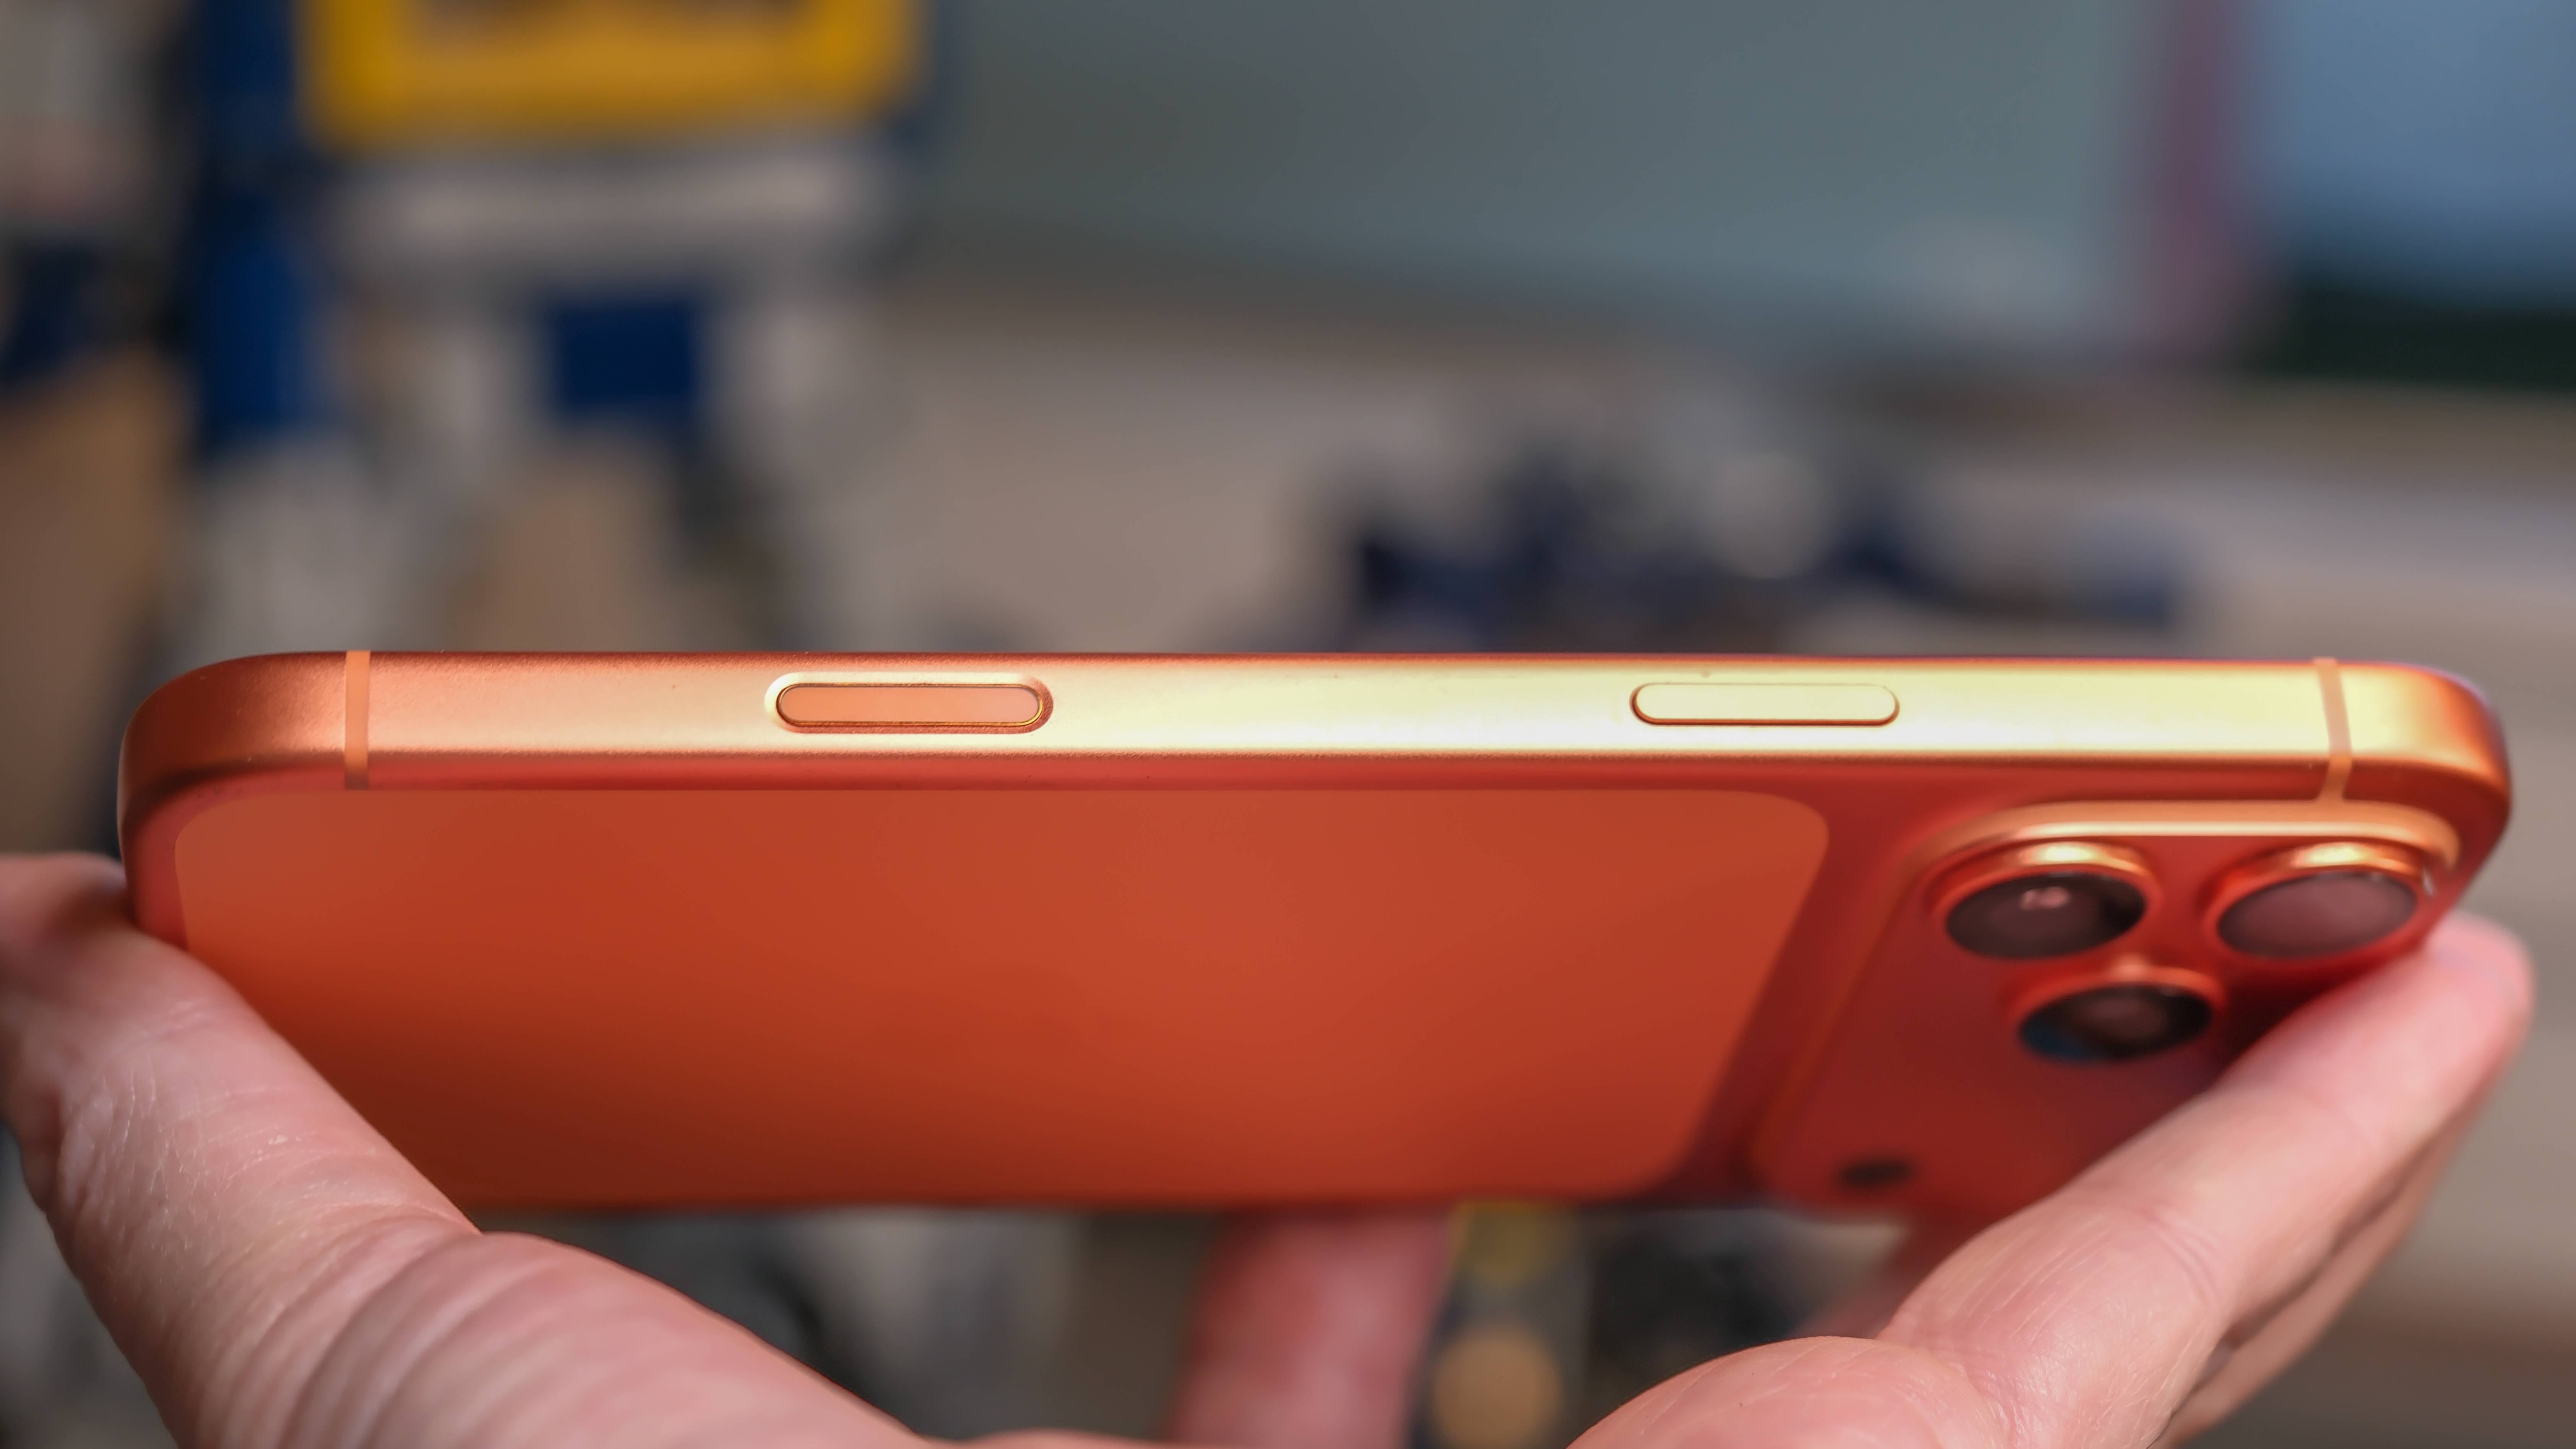
When the iPhone 16 and iPhone 16 Pro launched with a new Camera Control (Apple never calls it a ‘button’), I had high hopes for a proper shutter button with autofocus, like you’ll find on a real camera. Unfortunately, the Camera Control didn’t work the way I expected, but that doesn’t mean it can’t be an incredibly useful tool. I can show you how to make the most of it.
Today, you’ll find the Camera Control on every new iPhone model except the iPhone 16e. That includes the iPhone 17 and iPhone Air. Sadly, most iPhone owners I know (who don’t spend their days like me, contemplating phone features) rarely use the Camera Control, or only press it by accident.
I’ve found many ways the Camera Control can be useful, but it can also be tricky. You have to know how to navigate the button and the tiny pop-up window it opens. You’ll need to find the settings that let you change what it can do. I can show you where to look, and how to use the Camera Control to open apps, look closer, and adjust your camera – before you even take your shot.
Launch a different camera app – like Instagram
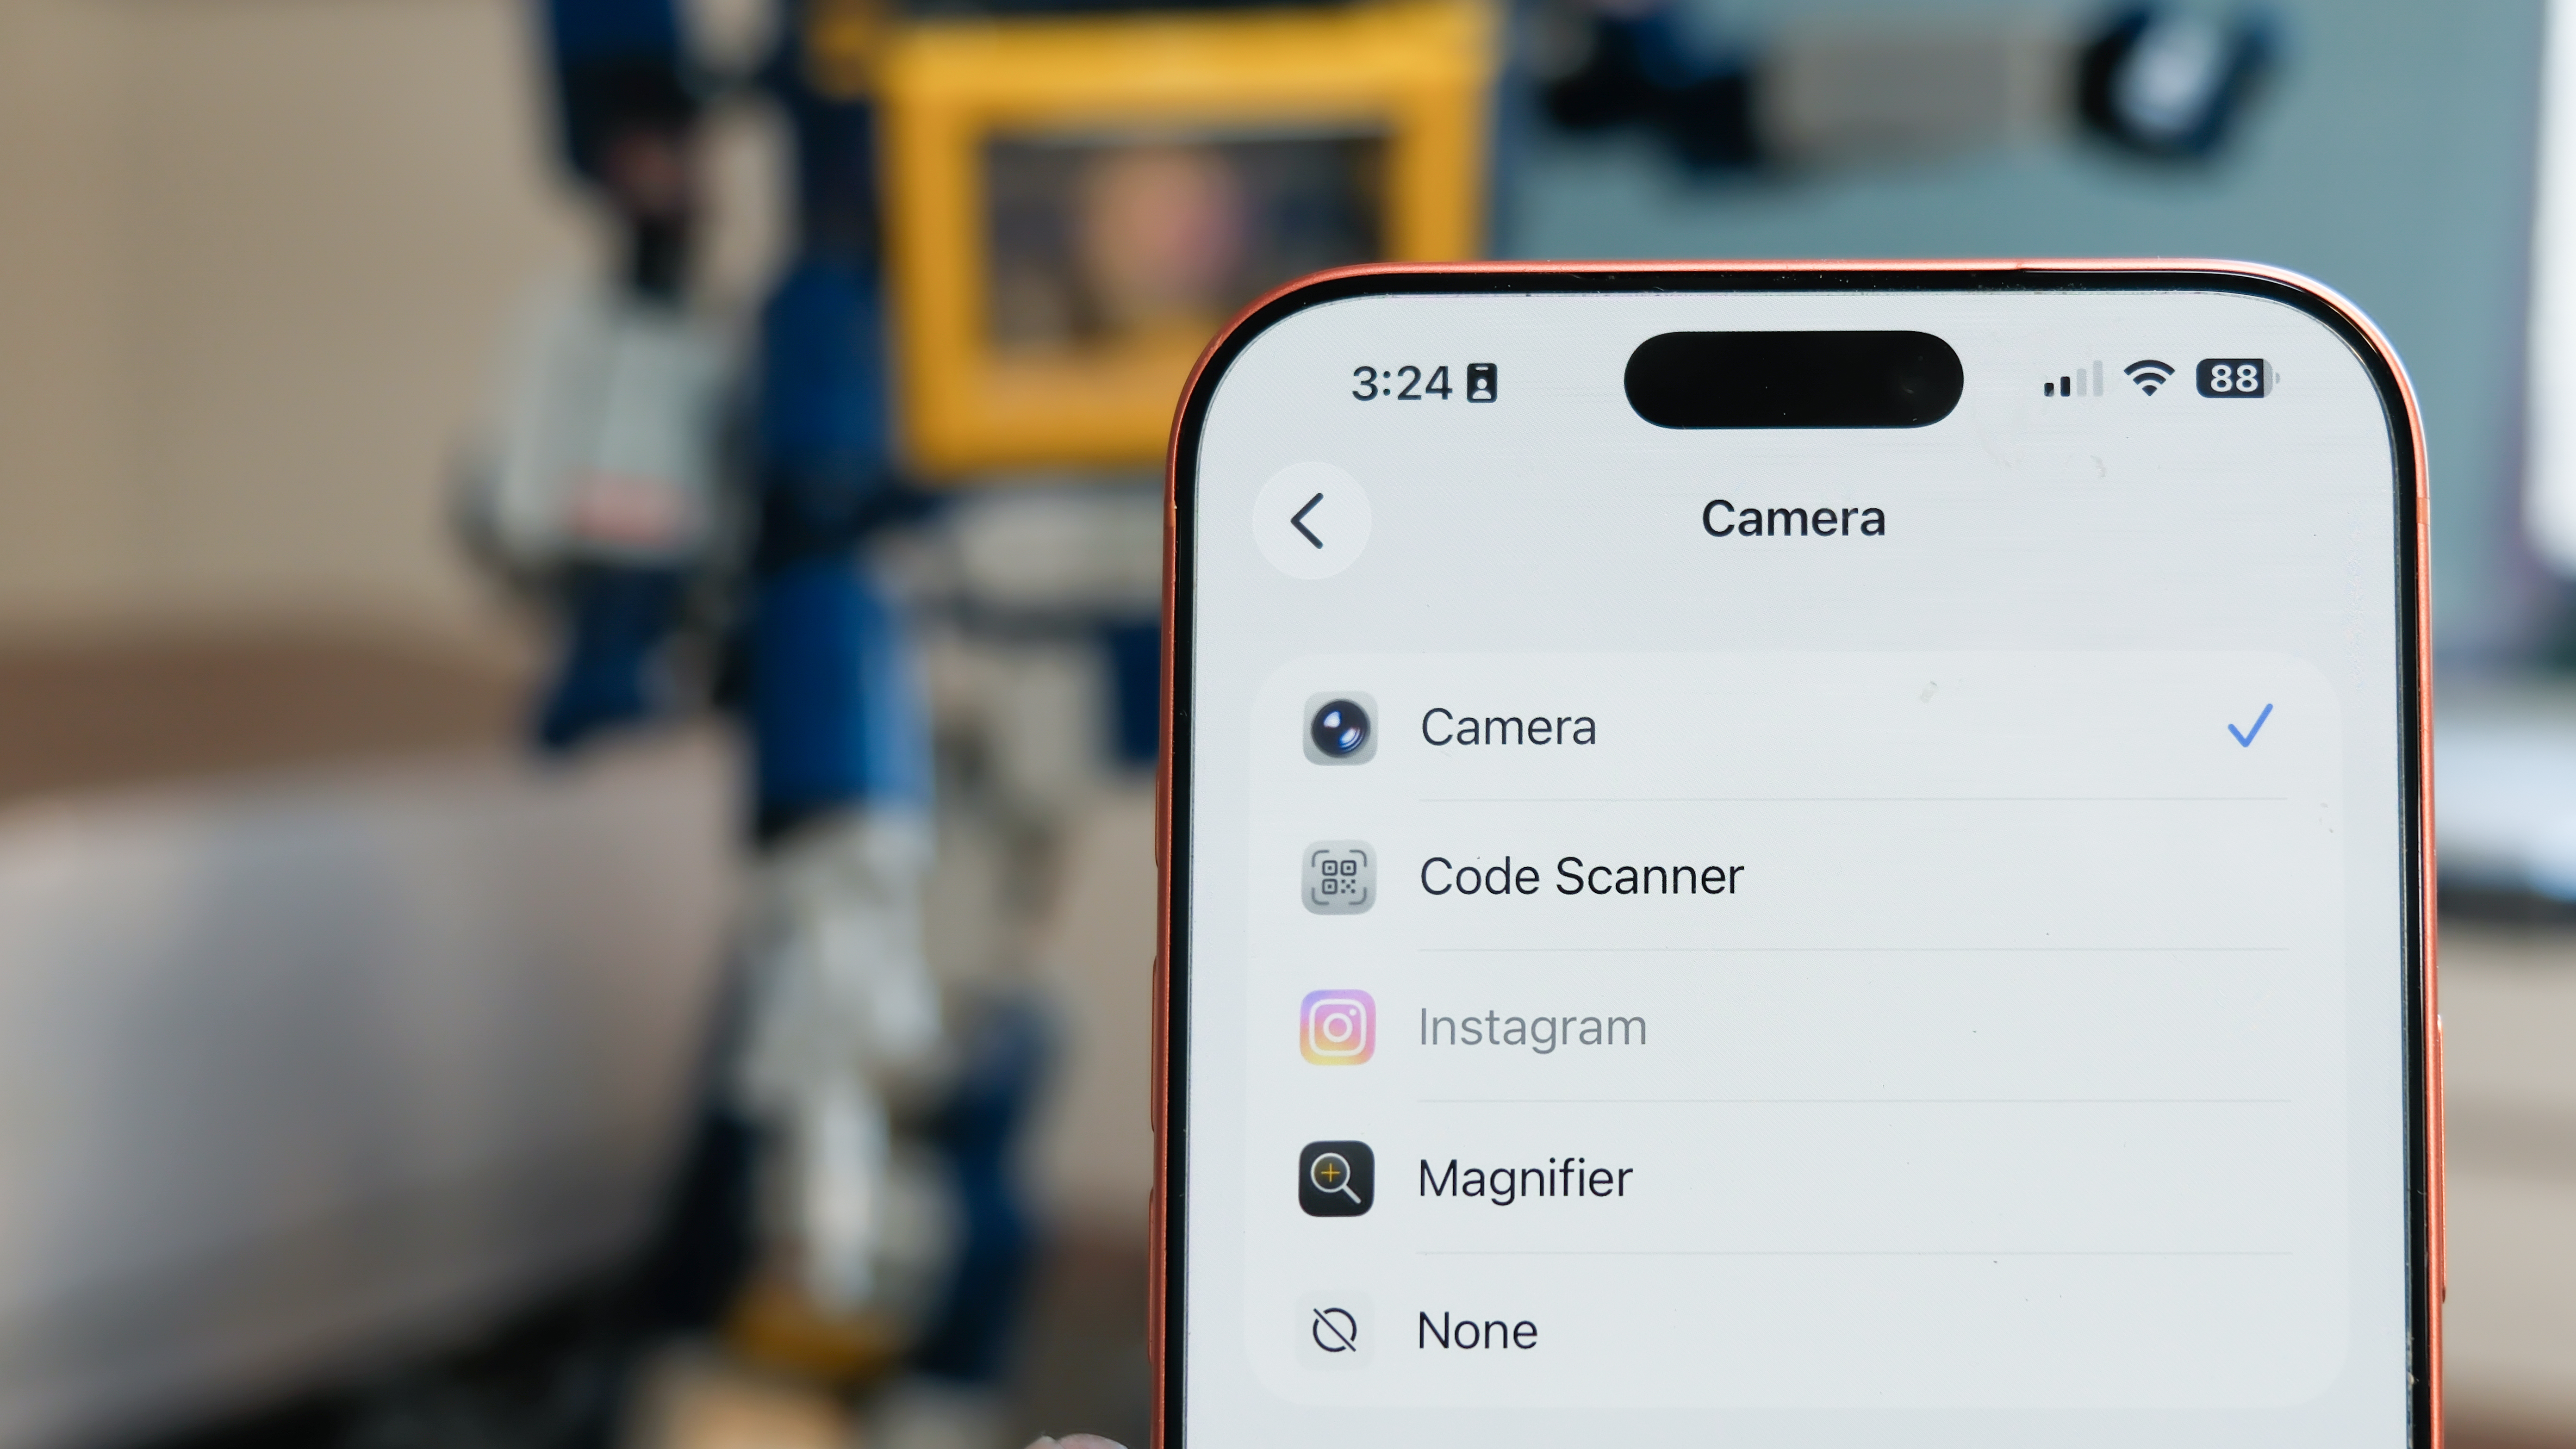
First thing you’ll need to find is your iPhone’s Camera Settings. Apple doesn’t put its Settings menus within its apps. Every app keeps its settings menu under the Apple Settings app. So, open Settings, then scroll down to the Camera options. The top setting under Camera (at least in iOS 26.2) will be the Camera Control.
Under the Camera Control settings, the first option asks you which camera the button should launch. Instead of the robust Camera app, you can just open a QR code scanner, or even a third-party app. Instagram started life as a camera app with filters, and you can still set your Camera Control to open Insta directly to its camera.
You’ll need to have granted Instagram permission when you first downloaded the app, or else you can change its permission settings under the Settings: Apps: Instagram menu.
Open the Magnifier app for a closer look
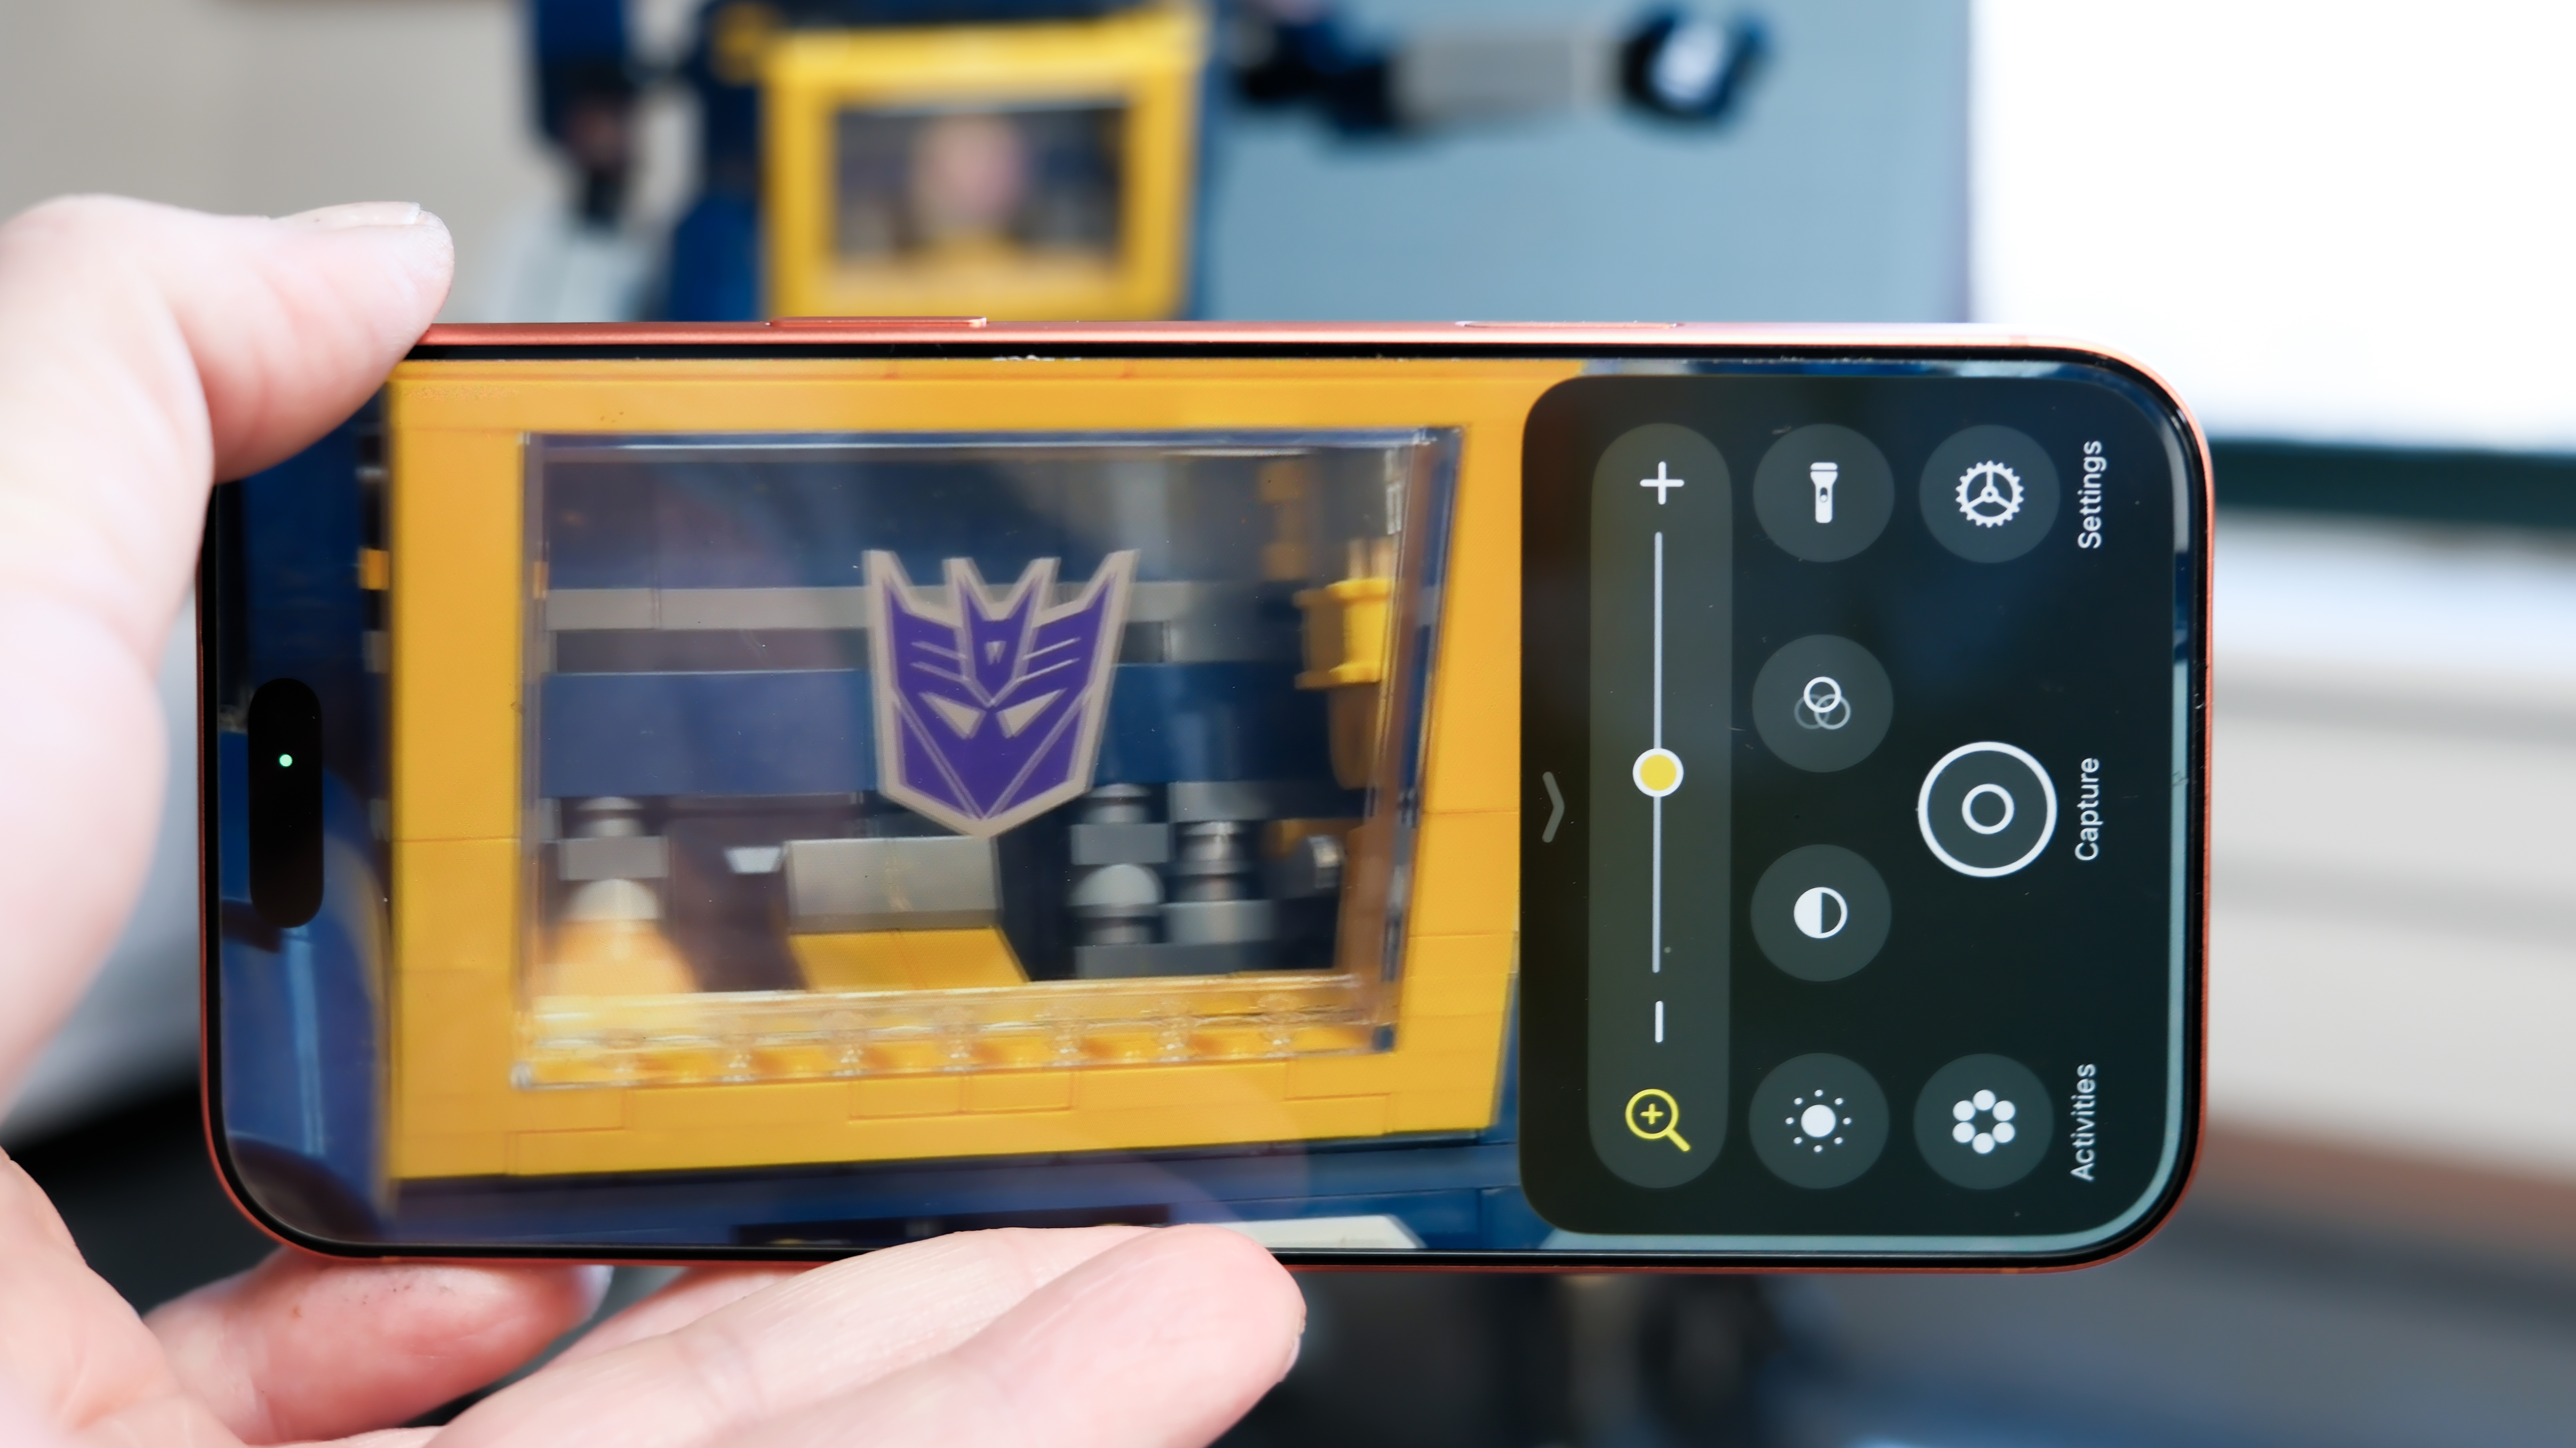
I need reading glasses, but I don’t always carry a pair with me. Instead, if I need to read the fine print on a menu, I just open the Magnifier app on my iPhone. If you use Magnifier all the time, you’ll be delighted to know you can open the app using the Camera Control with a simple click. Just follow the instructions above and choose the Magnifier instead of Instagram.
The Magnifier app can even take photos! You can zoom in on text, take a photo, and then import the text directly to Apple’s reader to transcribe the photo. If you’re in the dark, the magnifier can activate the flashlight as well.
Answer the question “what the heck is that?!” using ChatGPT
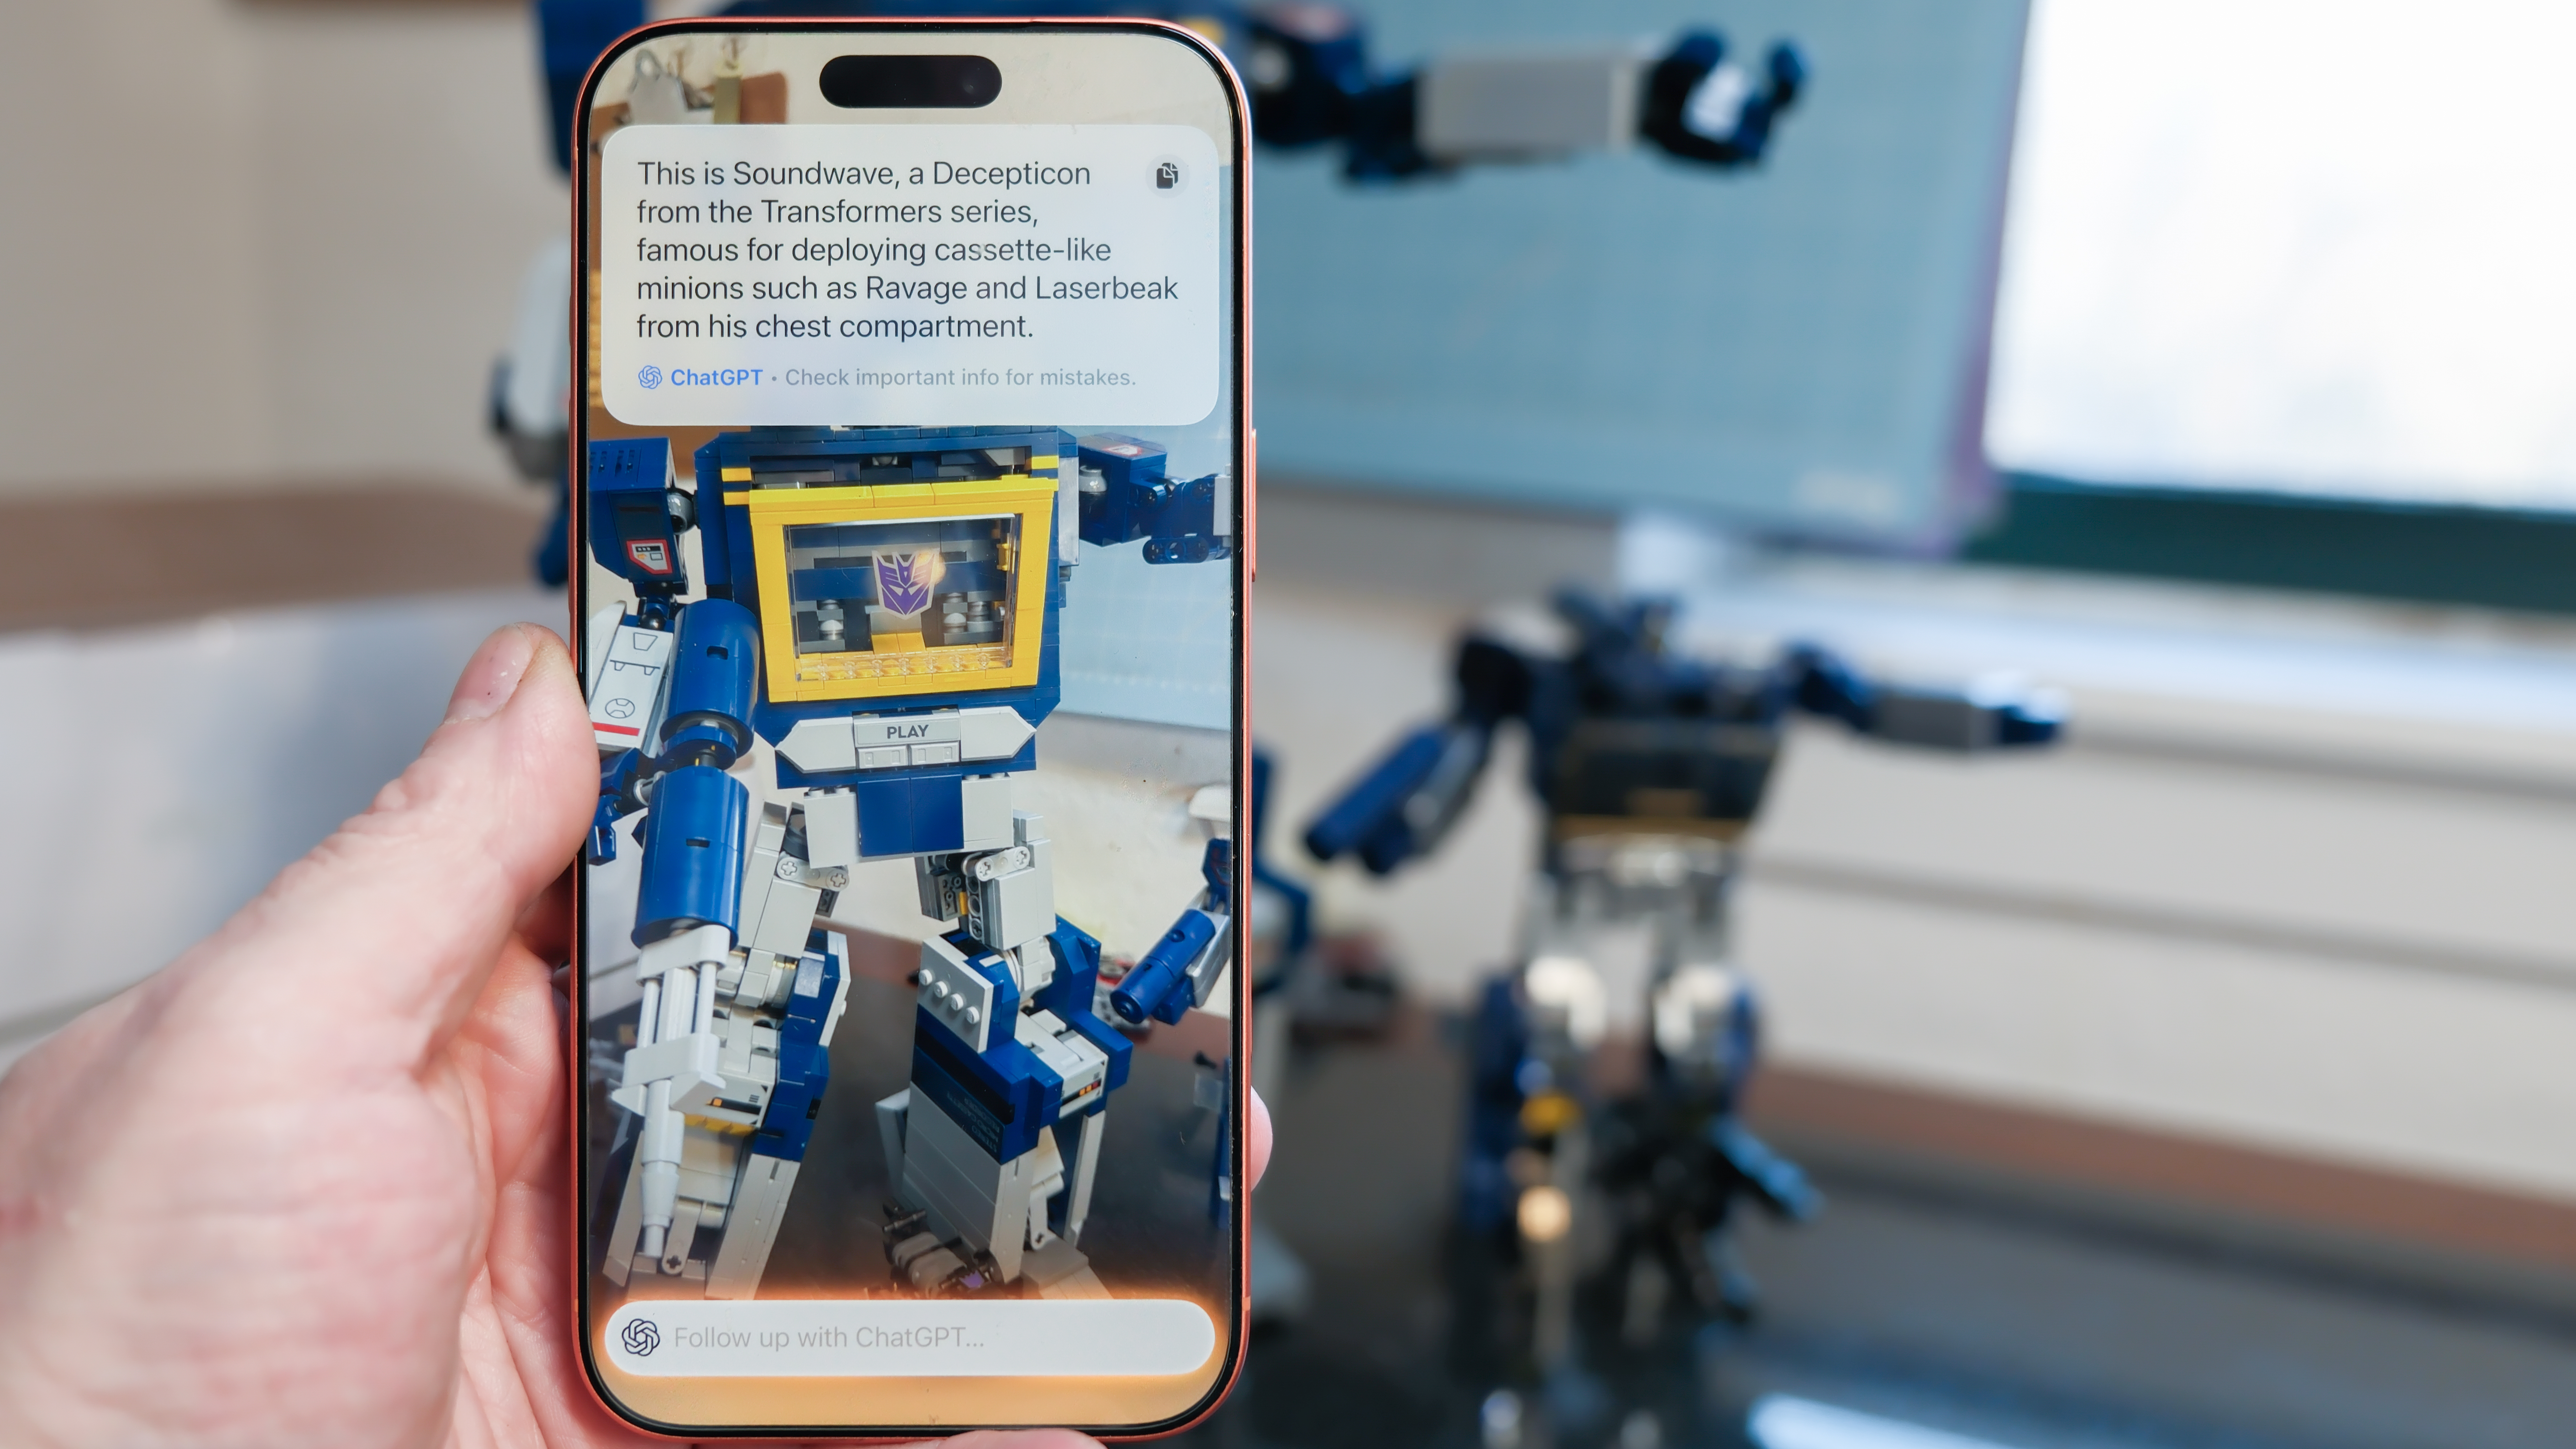
Want to give some AI a try? You can use the camera to ask questions through Visual Intelligence, Apple’s image-recognition AI that works with ChatGPT to get answers (it may work with other AI models in the future). The next time you think ‘hey! What’s kind of bird is that!?’ open Visual Intelligence on your iPhone and ask.
No need to change apps this time, Visual Intelligence is always a Camera Control feature. Instead of pressing the button and releasing it, hold down on the button from any screen besides the Camera app. The button works differently when a camera app is open.
Visual Intelligence takes a still photo before it gets to work – it doesn’t work with a live video feed. Also, it wasn’t the most accurate, but I blame ChatGPT. For instance, it identified my Lego Transformers Soundwave model as a Lego Artemis Space Launch system the first time, and then it identified Lego Optimus Prime the second time. At least it recognized the Lego bricks.
Camera Control features in the Camera app
Now for some Camera Control tips while you’re actually using the Apple Camera app. You can just press the button to take a photo, but there are many more tricks it can perform. To access these, you first press lightly on the Camera Control button, until a tabbed window pops up right under your finger. Swipe down on that window and you’ll see a horizontal scroll of icons for the Camera Control features.
In the Settings: Camera: Camera Control menu, you can turn off any of these Camera Control features that you never use. I’ve found the ‘Depth’ feature to be totally ineffective – I couldn’t tell the difference between maximum and minimum Aperture shots – so I turn that one off. Here are the tools that I actually use and recommend.
Zoom in, or focus on yourself
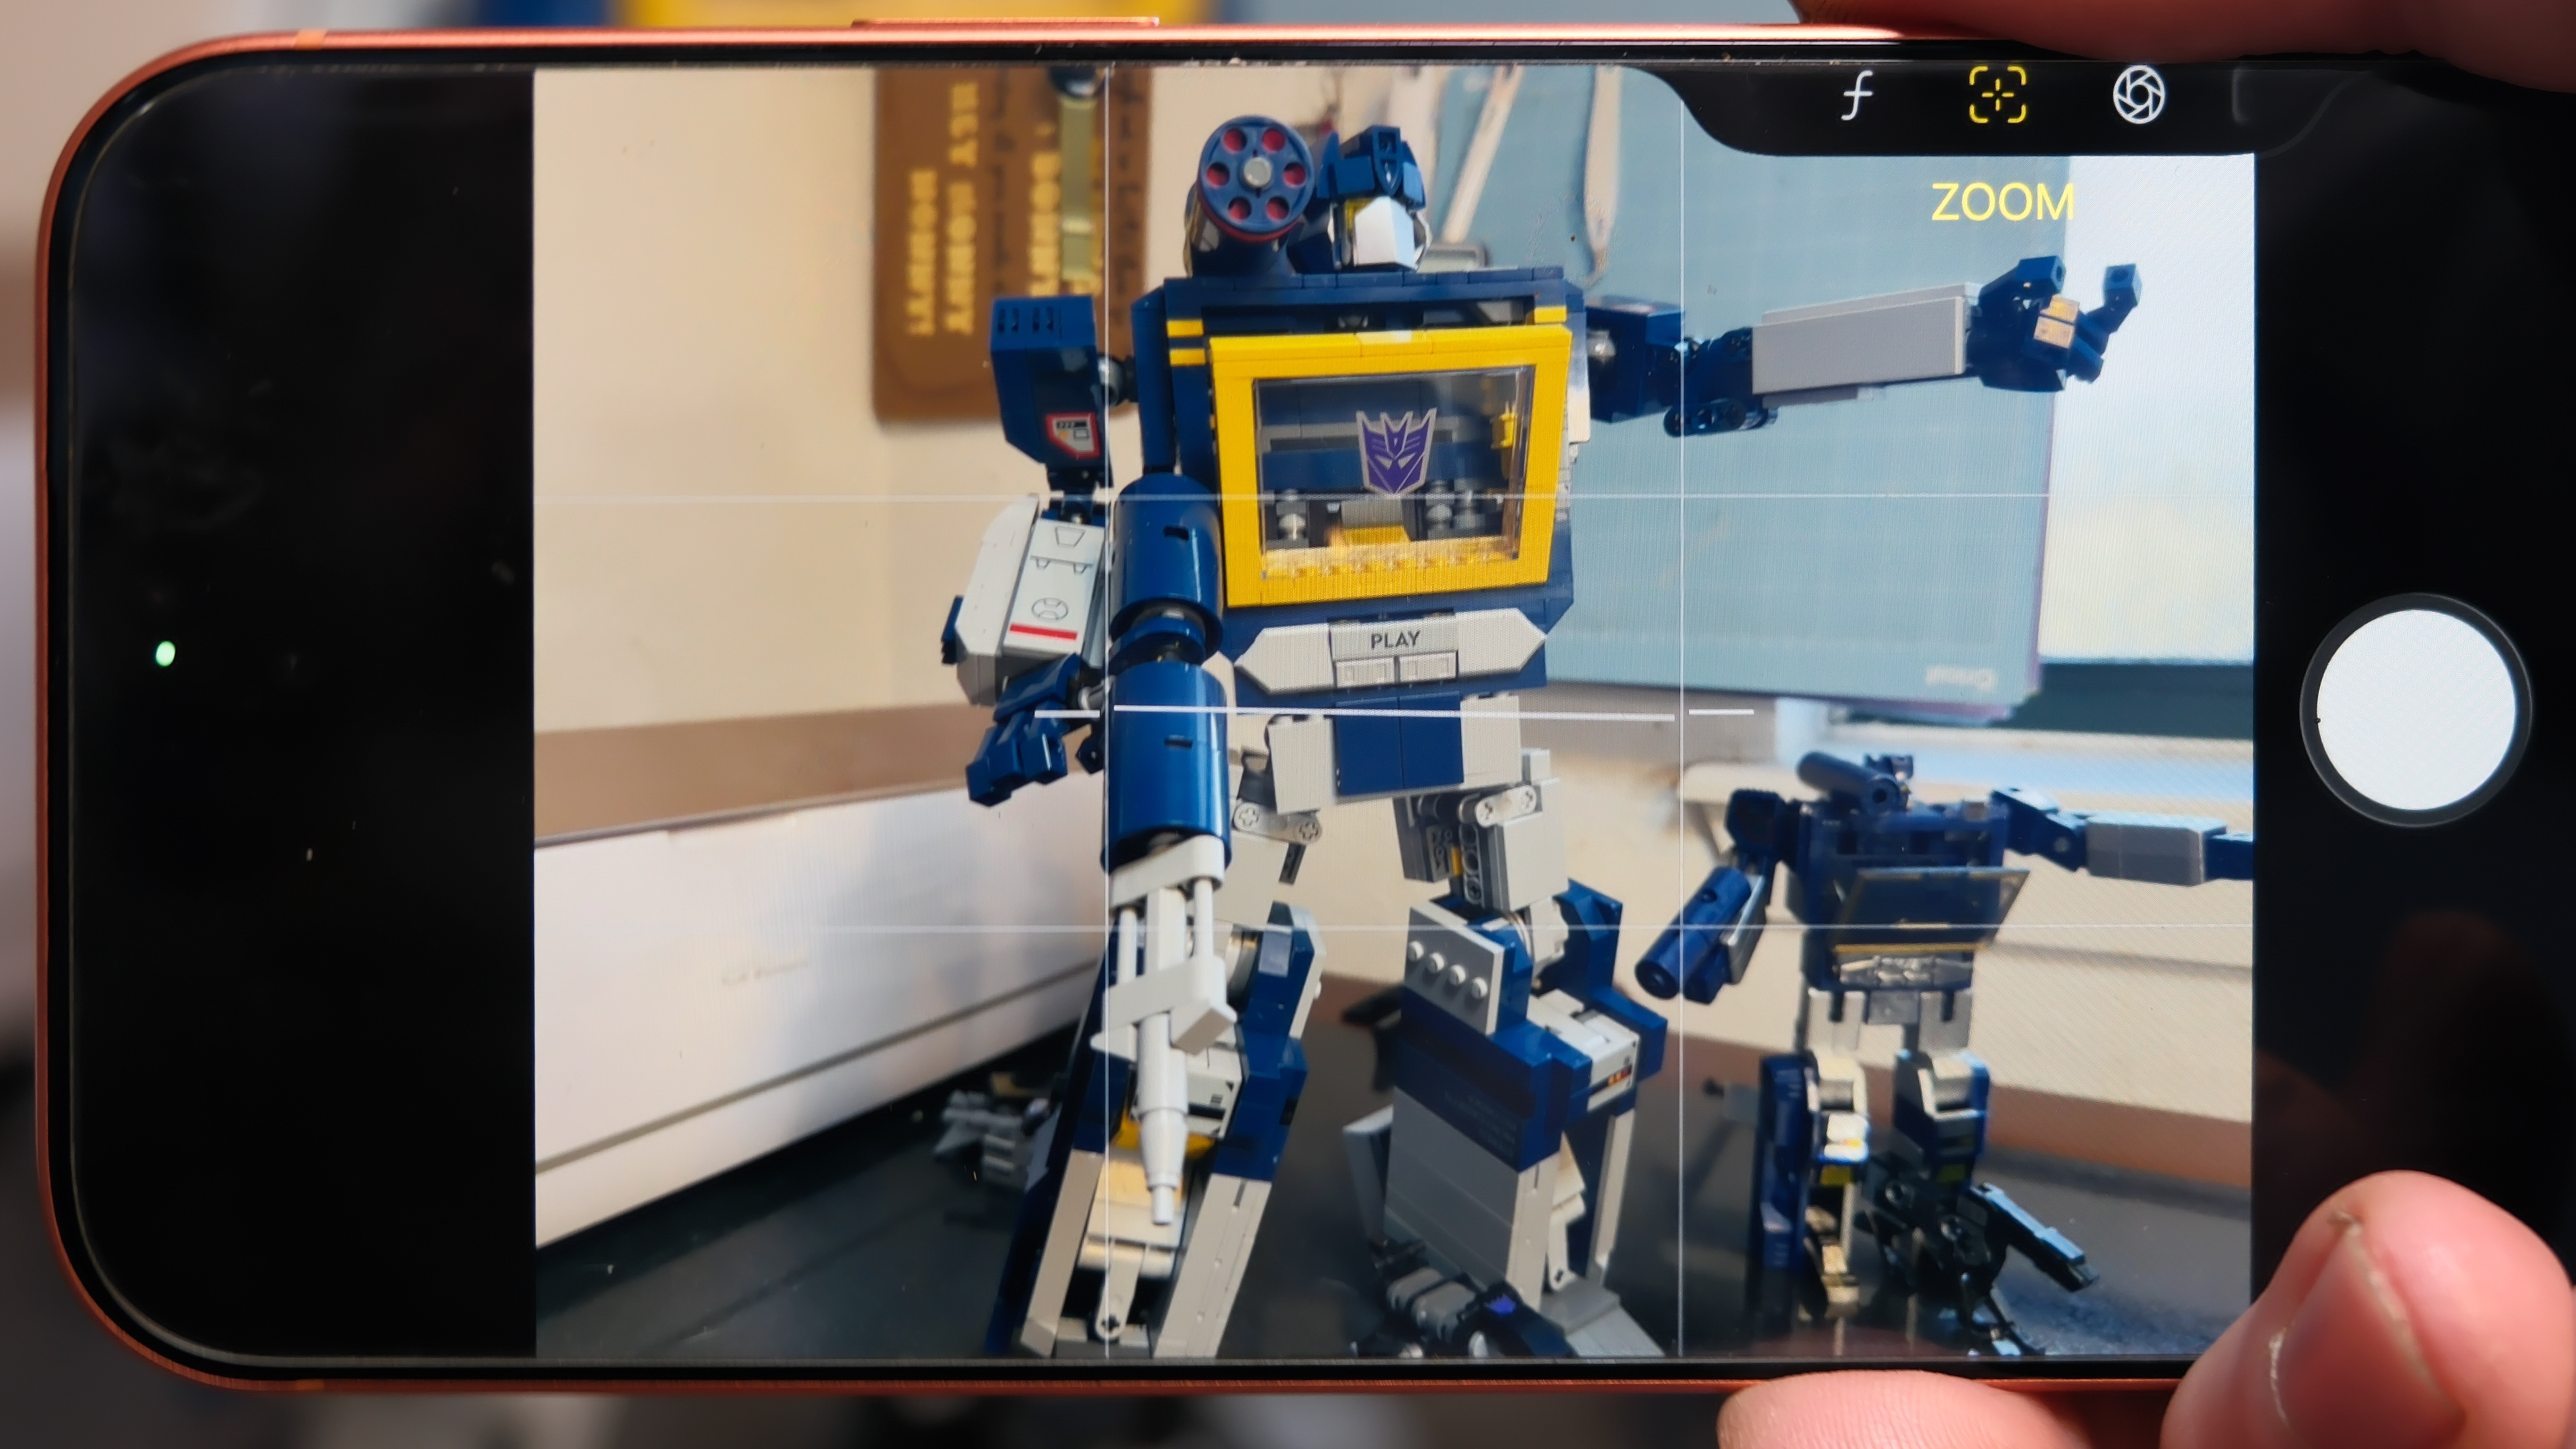
Using Camera Control, you can zoom in smoothly to frame your subject or get a closer shot. Select Zoom from the Control menu, then slide your finger left and right on the Camera Control button. Slide left to zoom in, slide right to zoom out.
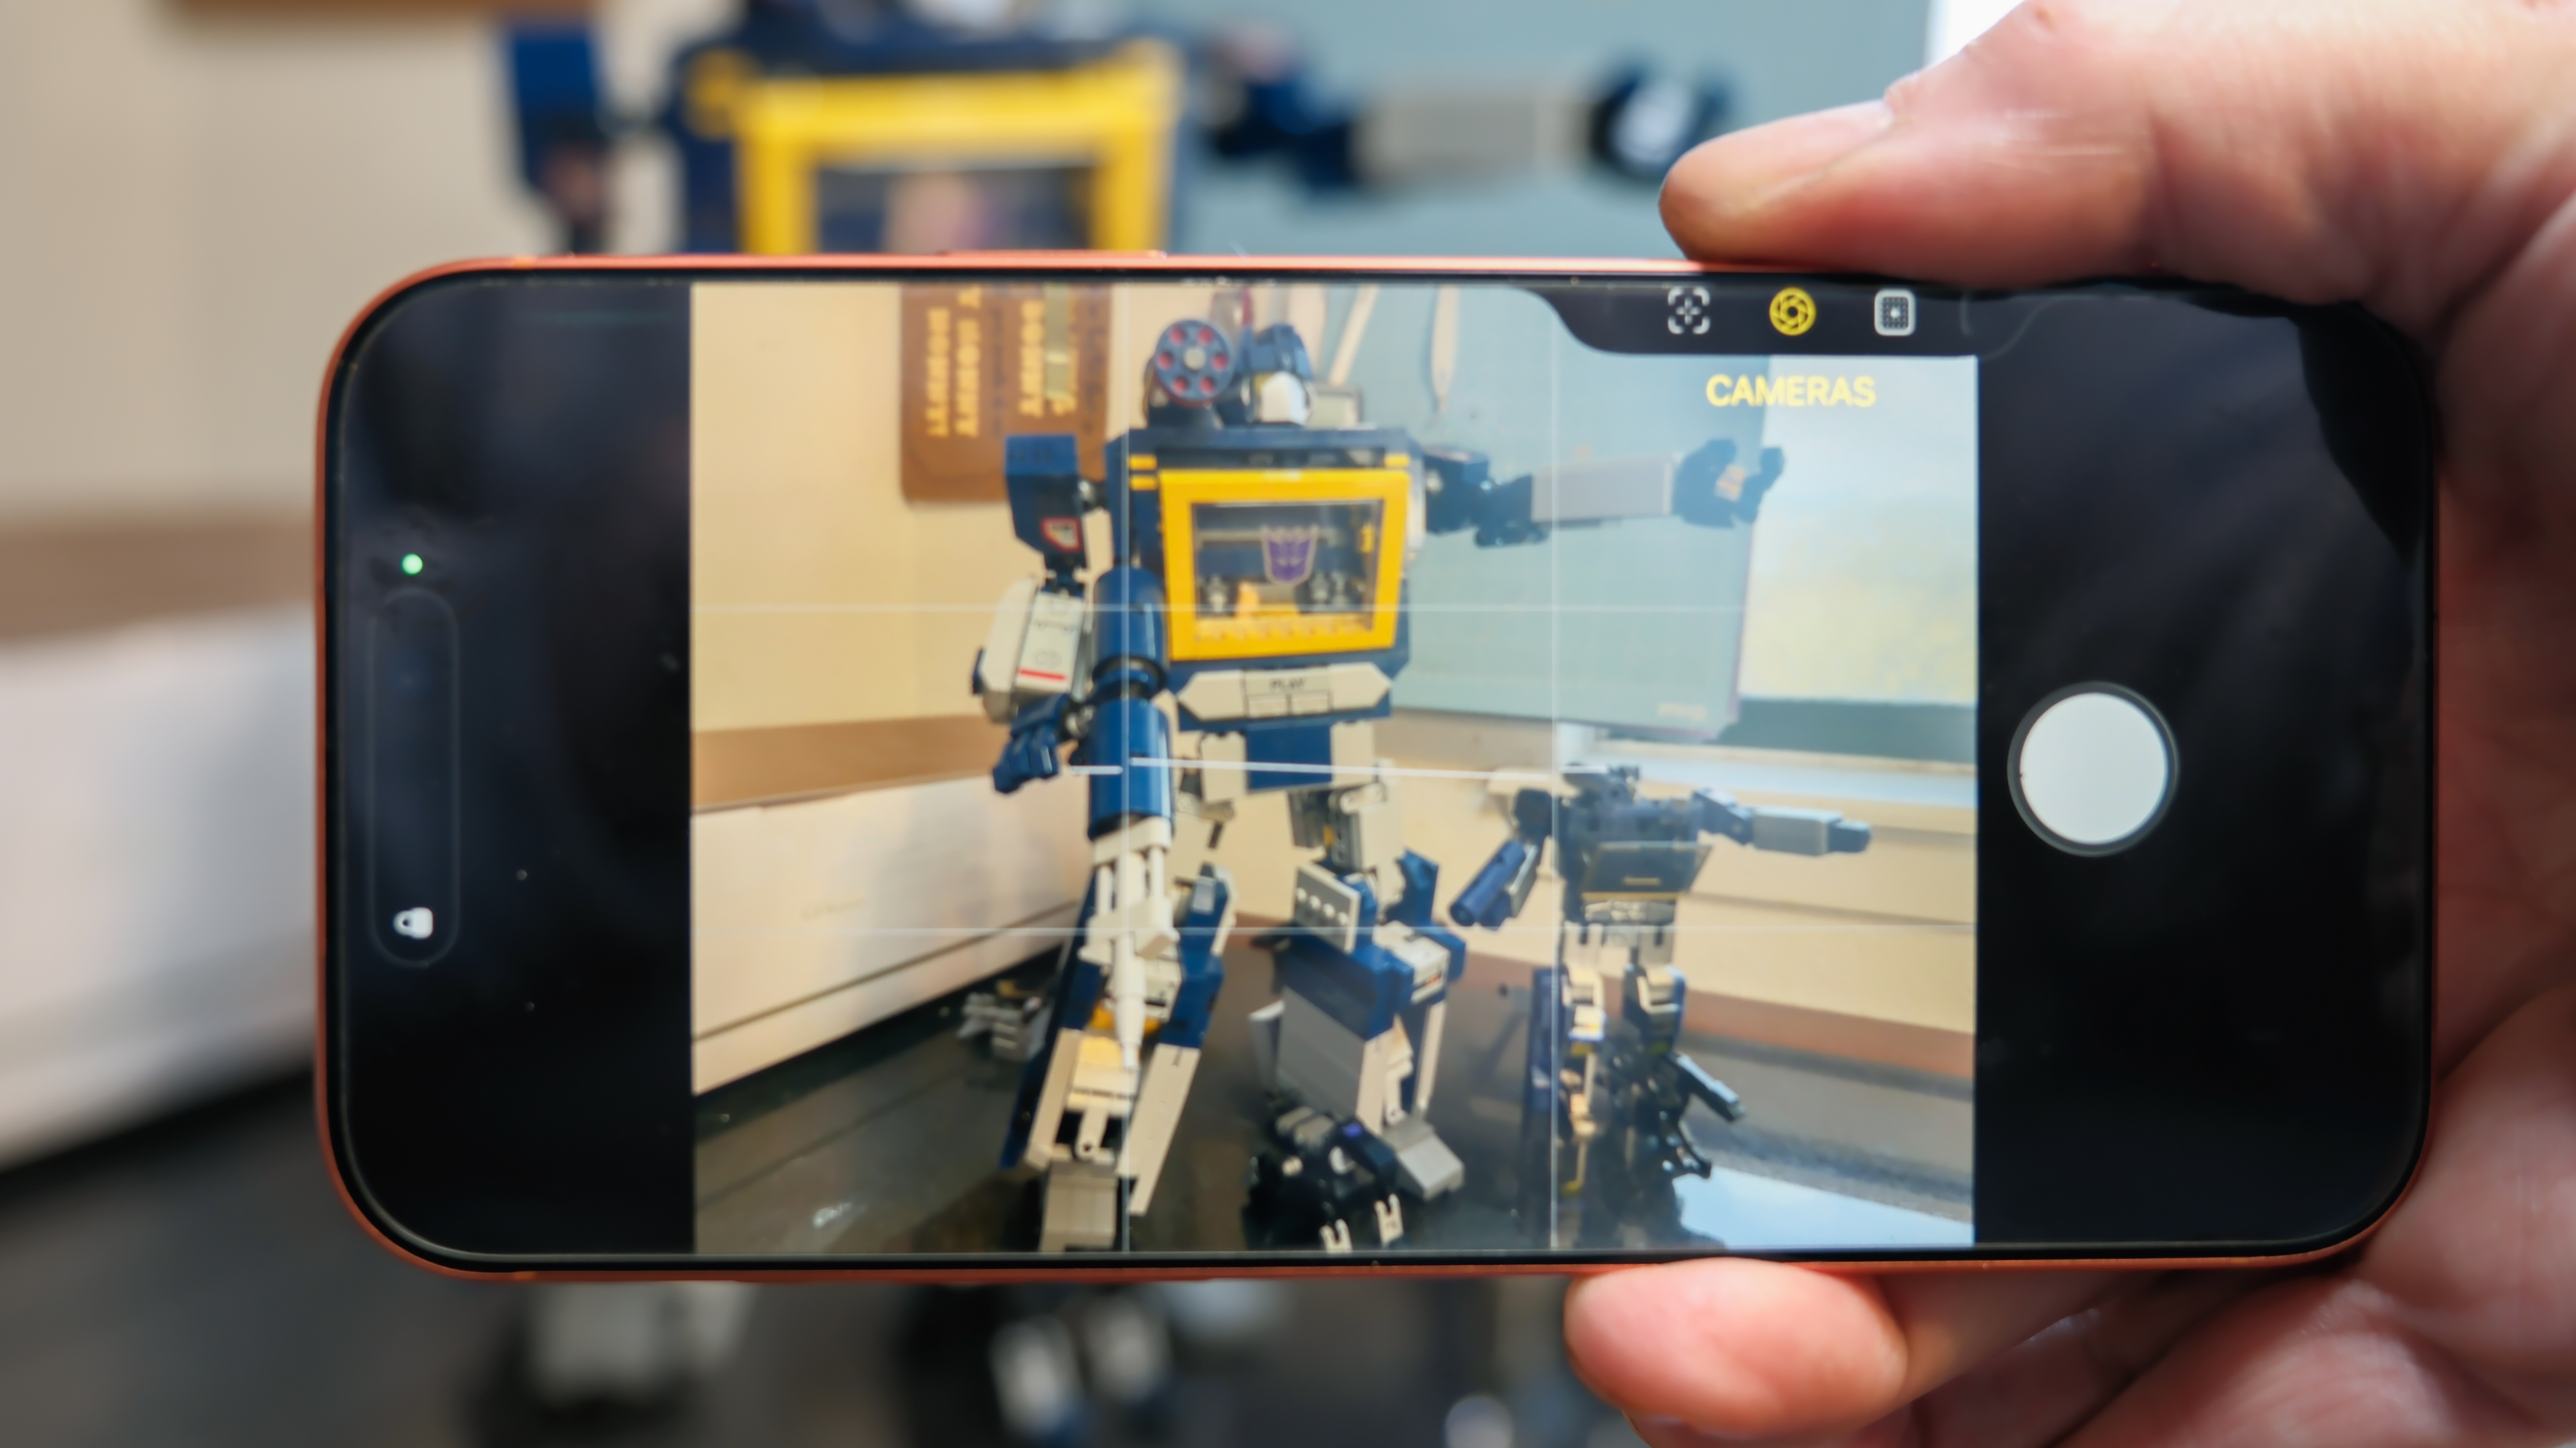
Instead of zooming, you can also change between the three iPhone cameras. From the top Camera Control menu, instead of Zoom, choose Cameras. Now you can jump from the wide angle (labeled ‘.5’) to the main camera, or skip through 2X, 4X, and 8X zoom. You can also quickly switch to the selfie camera this way. When you scroll past the wide angle lens, the view flips around.
Quickly record a video without changing camera modes

Instead of a still photo, you can quickly record a video without having to switch modes – just press and hold the Camera Control button while the Camera app is open. Instead of taking one shot, it will start recording video. The recording will end when you lift your finger, making it perfect for quickly capturing moments as they happen. As it happens, the camera button on the phone screen works the same way – hold your finger on the button to record video instead of taking a photo.
I wish there was an option to make this Camera Control feature shoot a burst of still photos instead of a video, but that option exists for another button. In the Settings: Camera menu, you’ll find an option near the bottom to make the Volume Up switch your burst control. Instead of pressing Camera Control or the button on screen, if you hold down the Volume Up button on your phone, it will take a quick burst of shots until you let go of the button.
Make your photo brighter or add some drama
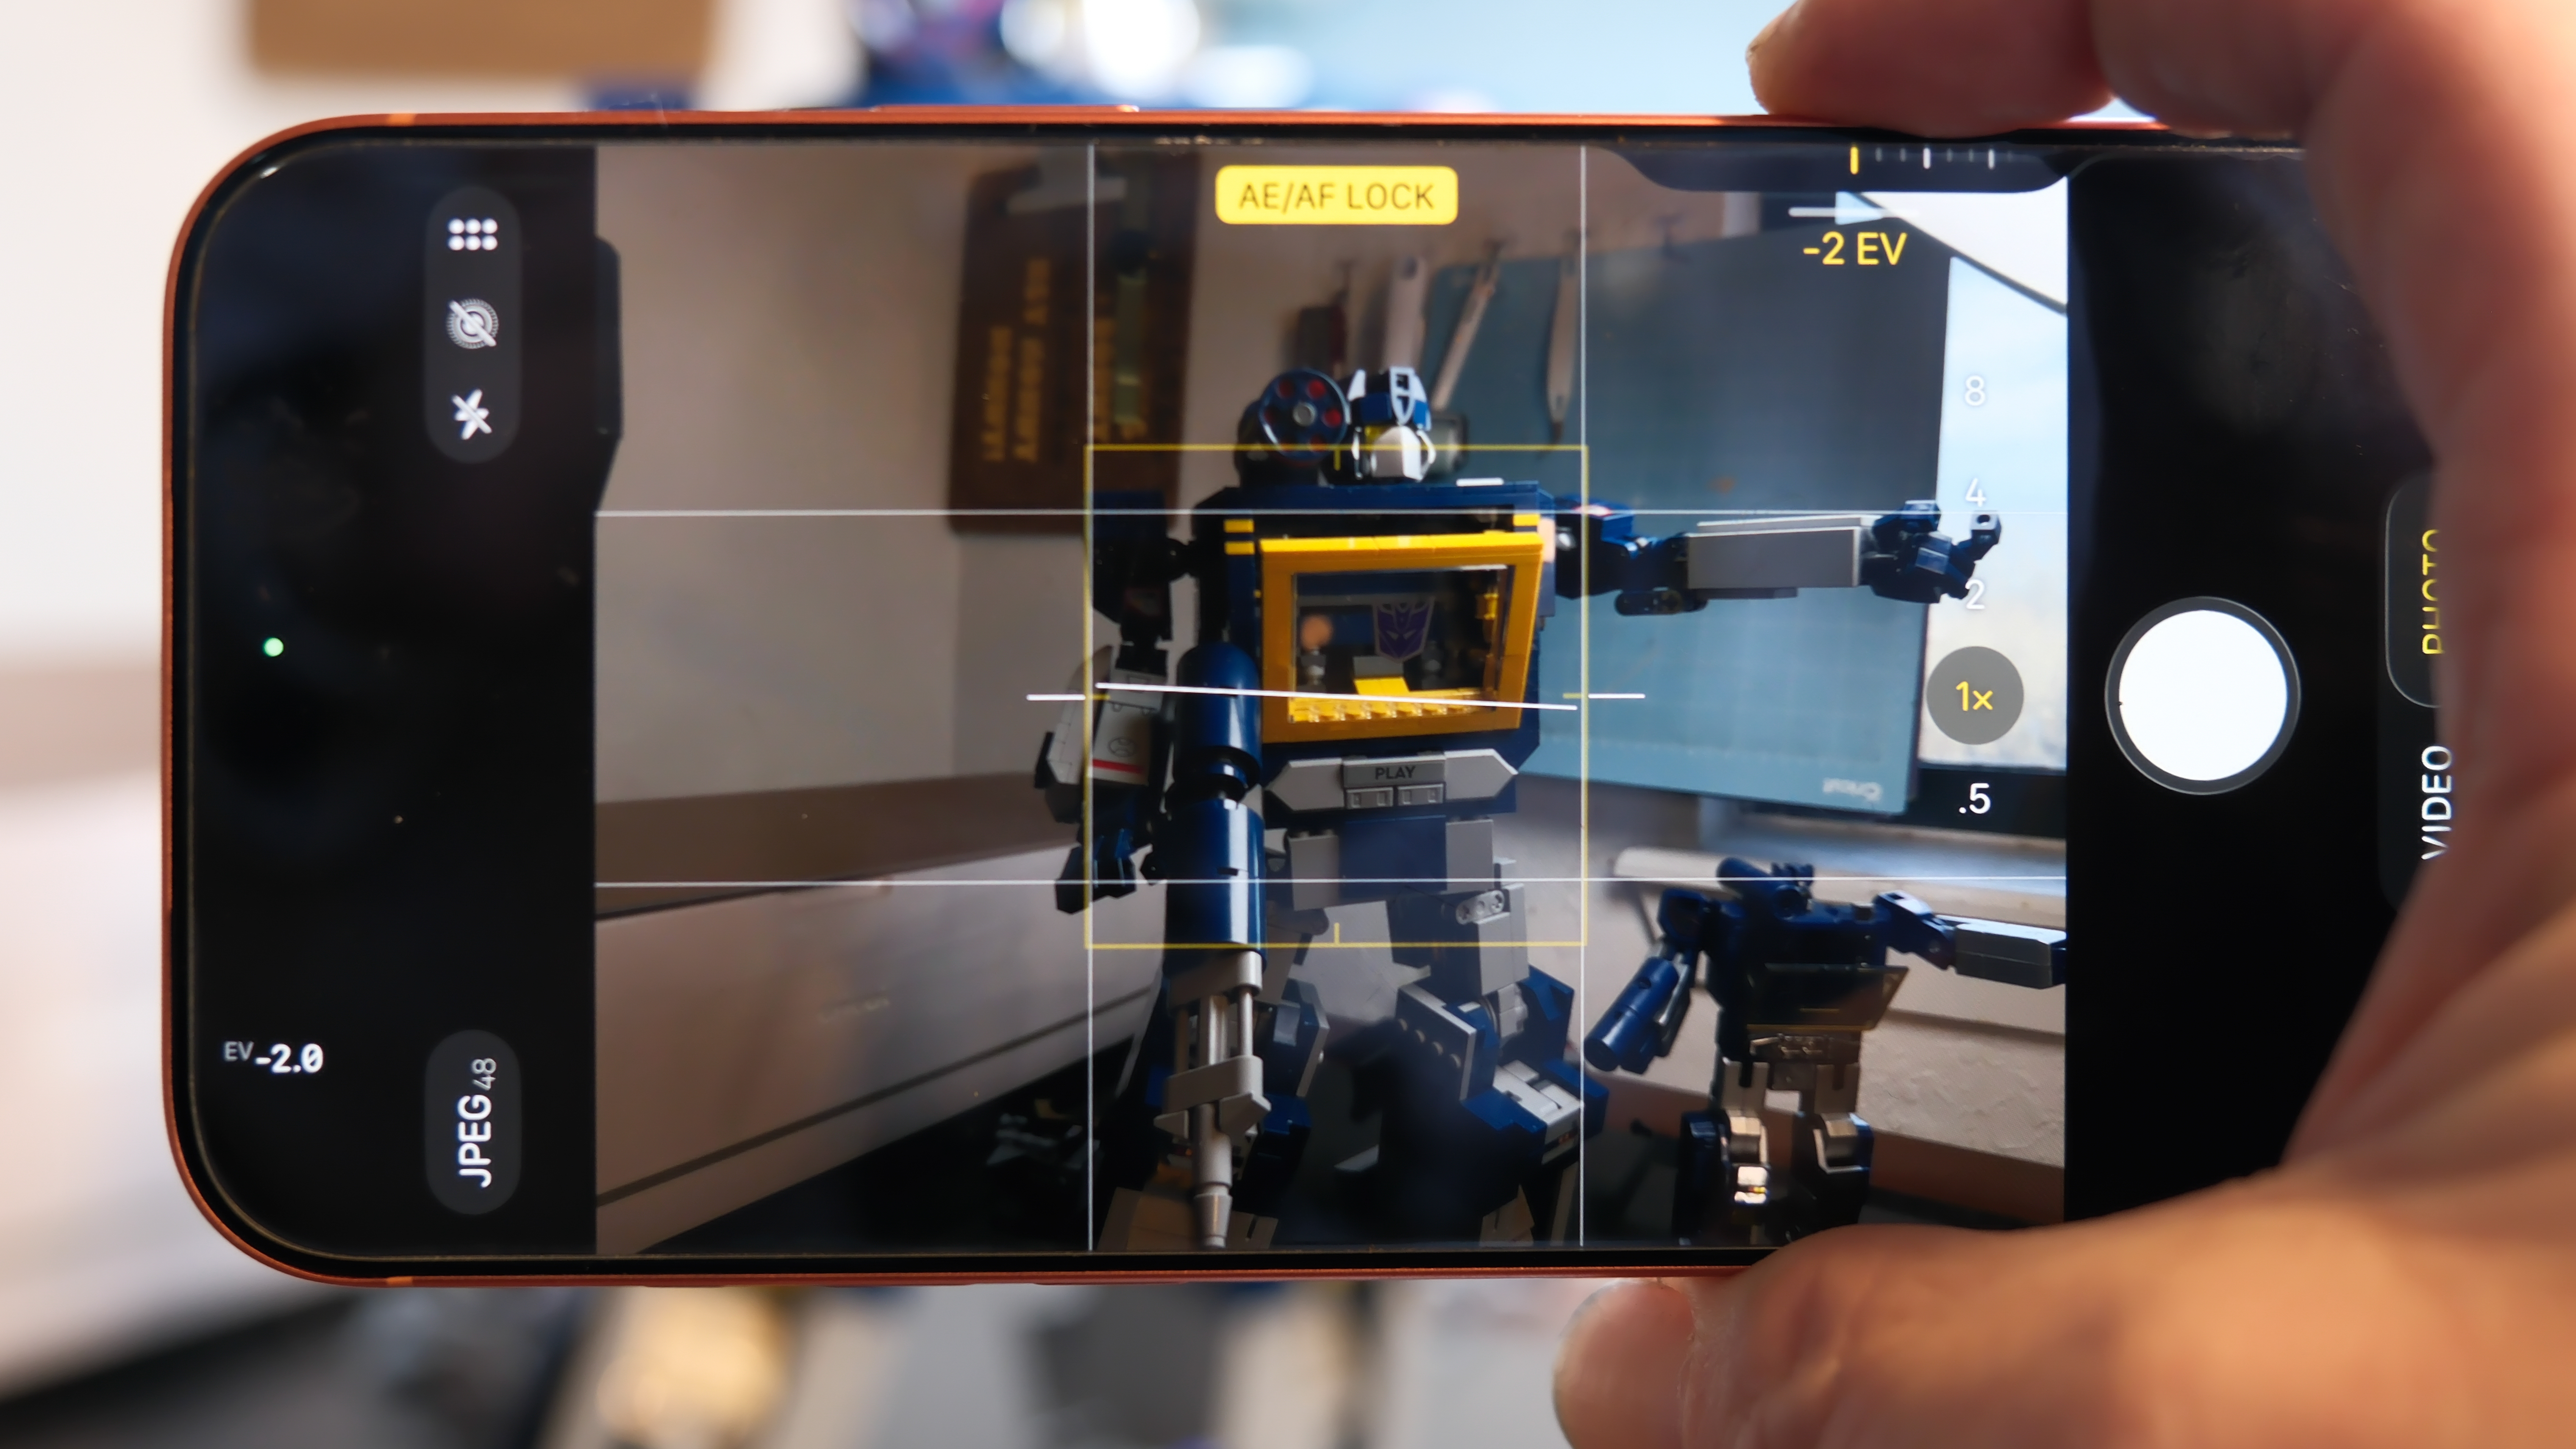
Get to know the exposure control on your phone camera – it can make a huge difference balancing your shot or creating more intense drama. Using Camera Control in the Camera app, swipe down to see the menu of Camera Control features. Then swipe right until you see the ‘±’ sign with the label ‘Exposure’ beneath.
Gently swipe left and right to see the difference you can make. If you don’t use any other Camera Control tools, keep the button set to Exposure so that you can quickly dial in a better look for images that are blown out and too bright, or to brighten up dark scenes so you can see faces and skin tones more clearly.
I’m still holding out for the shutter button I’ve always wanted – a proper two-step shutter like I have on my Fujifilm X-T5. Maybe an Android maker will deliver on this potential. Until then, I hope these tips make the Camera Control feel more vital, and I’ll keep them updated if Apple adds any great new features to its big new button.