
Do you often send text messages to a friend or family member across the pond? Or do you want to message someone who’s currently off work and don’t want to ping them during their downtime? Maybe you want to send a message every day at the same time to let your significant other know you’re on the way home and to ask if they need you to pick up anything?
If you said yes to any of these scenarios (or if you other ones in mind), you may be looking for a way to schedule text messages on your iPhone. After all, this is a feature that Android phones have, and it can often prove incredibly convenient.
Here’s the million-dollar question: Can you schedule text messages on your iPhone? If you have iOS 18, you can do it natively with other iMessage users. But for regular text messages, or even recurring messages, you may have to use the Shortcuts app. We’ll show you both methods below.

How to schedule a message in iOS 18
Apple has released iOS 18 to the masses. Along with finally adding RCS support for better communication with Android users, there is now a Send Later feature available too.
Unfortunately, the Send Later feature only works between iMessage users. For scheduling SMS or RCS messages to Android users, you’ll have to use the Shortcuts app, which we go over in the next section.
Step 1: Open the Messages app on your iPhone with iOS 18.
Step 2: Select your conversation thread with another iMessage user.
Step 3: Type your message.
Step 4: Select the Plus sign (+) button to the left of the text input field.
Step 5: Select Send later from the menu.

Step 6: Select the date and time to send your message.
Step 7: Select the Send button and the message will be scheduled.
Step 8: You can select Edit on the message to send immediately, edit the time, or delete the message entirely.

How to schedule an SMS or RCS message on iPhone with Shortcuts
If you need to schedule SMS or RCS messages to a non-iMessage user, then you could use the Shortcuts workaround. In short, it sets up an automation that will send the same recurring message according to the frequency that you set up.
The Shortcuts app should already be installed on your iPhone running iOS 13 or later. If it’s not on your iPhone for some reason, you can download the Shortcuts app for free from the App Store.
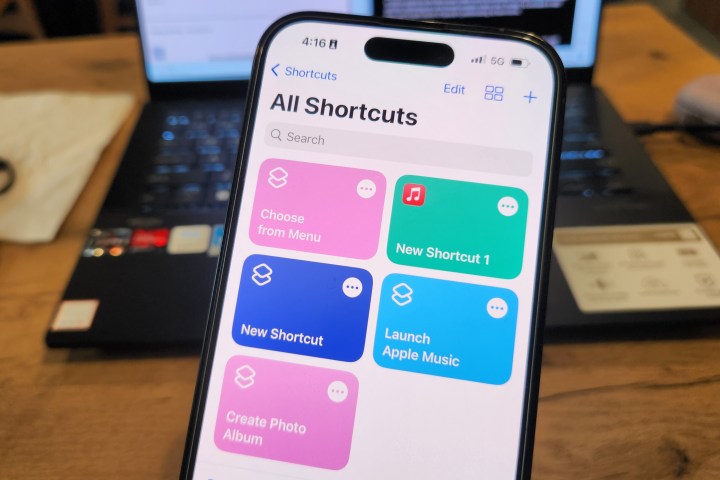
Step 1: Open the Shortcuts app on your iPhone.
Step 2: Select the Automation tab from the bottom toolbar.
Step 3: If you have not created an automation before, select Create personal automation on the screen. This won’t appear for anyone who has made automations before.
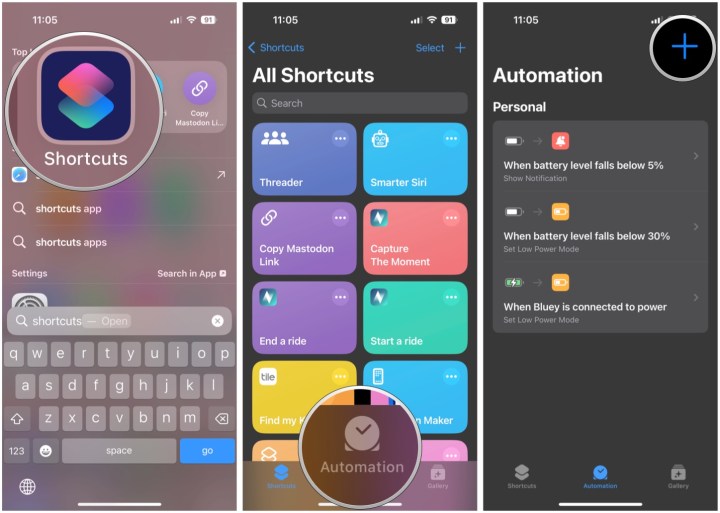
Step 4: If you have made automations before, select the Plus sign (+) button in the upper-right corner.
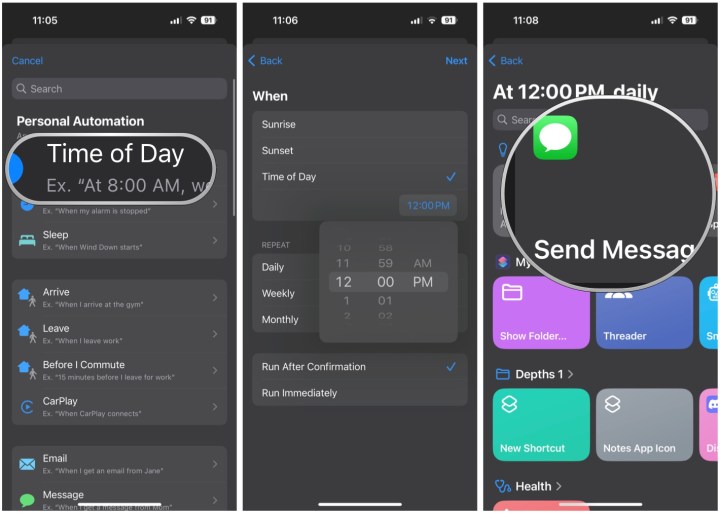
Step 5: Select the Time of day option.
Step 6: Adjust the time for when you want your message to send. You can also choose how often it occurs, and whether you want it to run with or without confirmation. Once you have all that done, select Next.
Step 7: From the Actions menu, select Send message. If you can’t find it, type it into the search bar at the top.
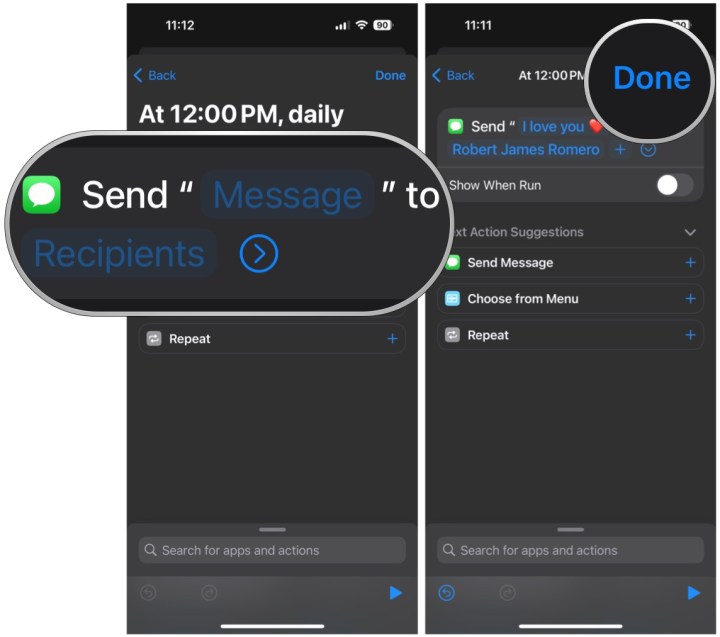
Step 8: Select Message and type in what you want the message to say.
Step 9: Select Recipients and add the contacts you want to send the message to.
Step 10: Select Done to save.
Step 11: Once that’s saved, your automation should run at the specified time and frequency you’ve chosen. If you don’t want the automation anymore, you can swipe to the left on the automation in the list and select Delete.